Oracular Arts and Crafts: Making Clay Runes, Part 4
You can read the exciting lead-up to this post in:
Oracular Arts and Crafts: Making Clay Runes, Part 1
Oracular Arts and Crafts: Making Clay Runes, Part 2
Oracular Arts and Crafts: Making Clay Runes, Part 3
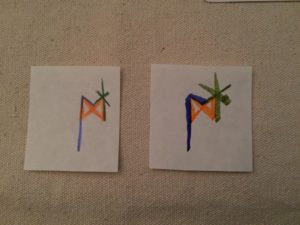
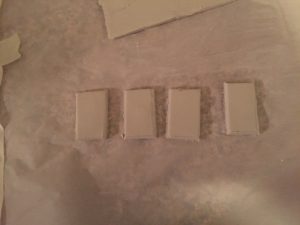
The runes have cured, and been painted:
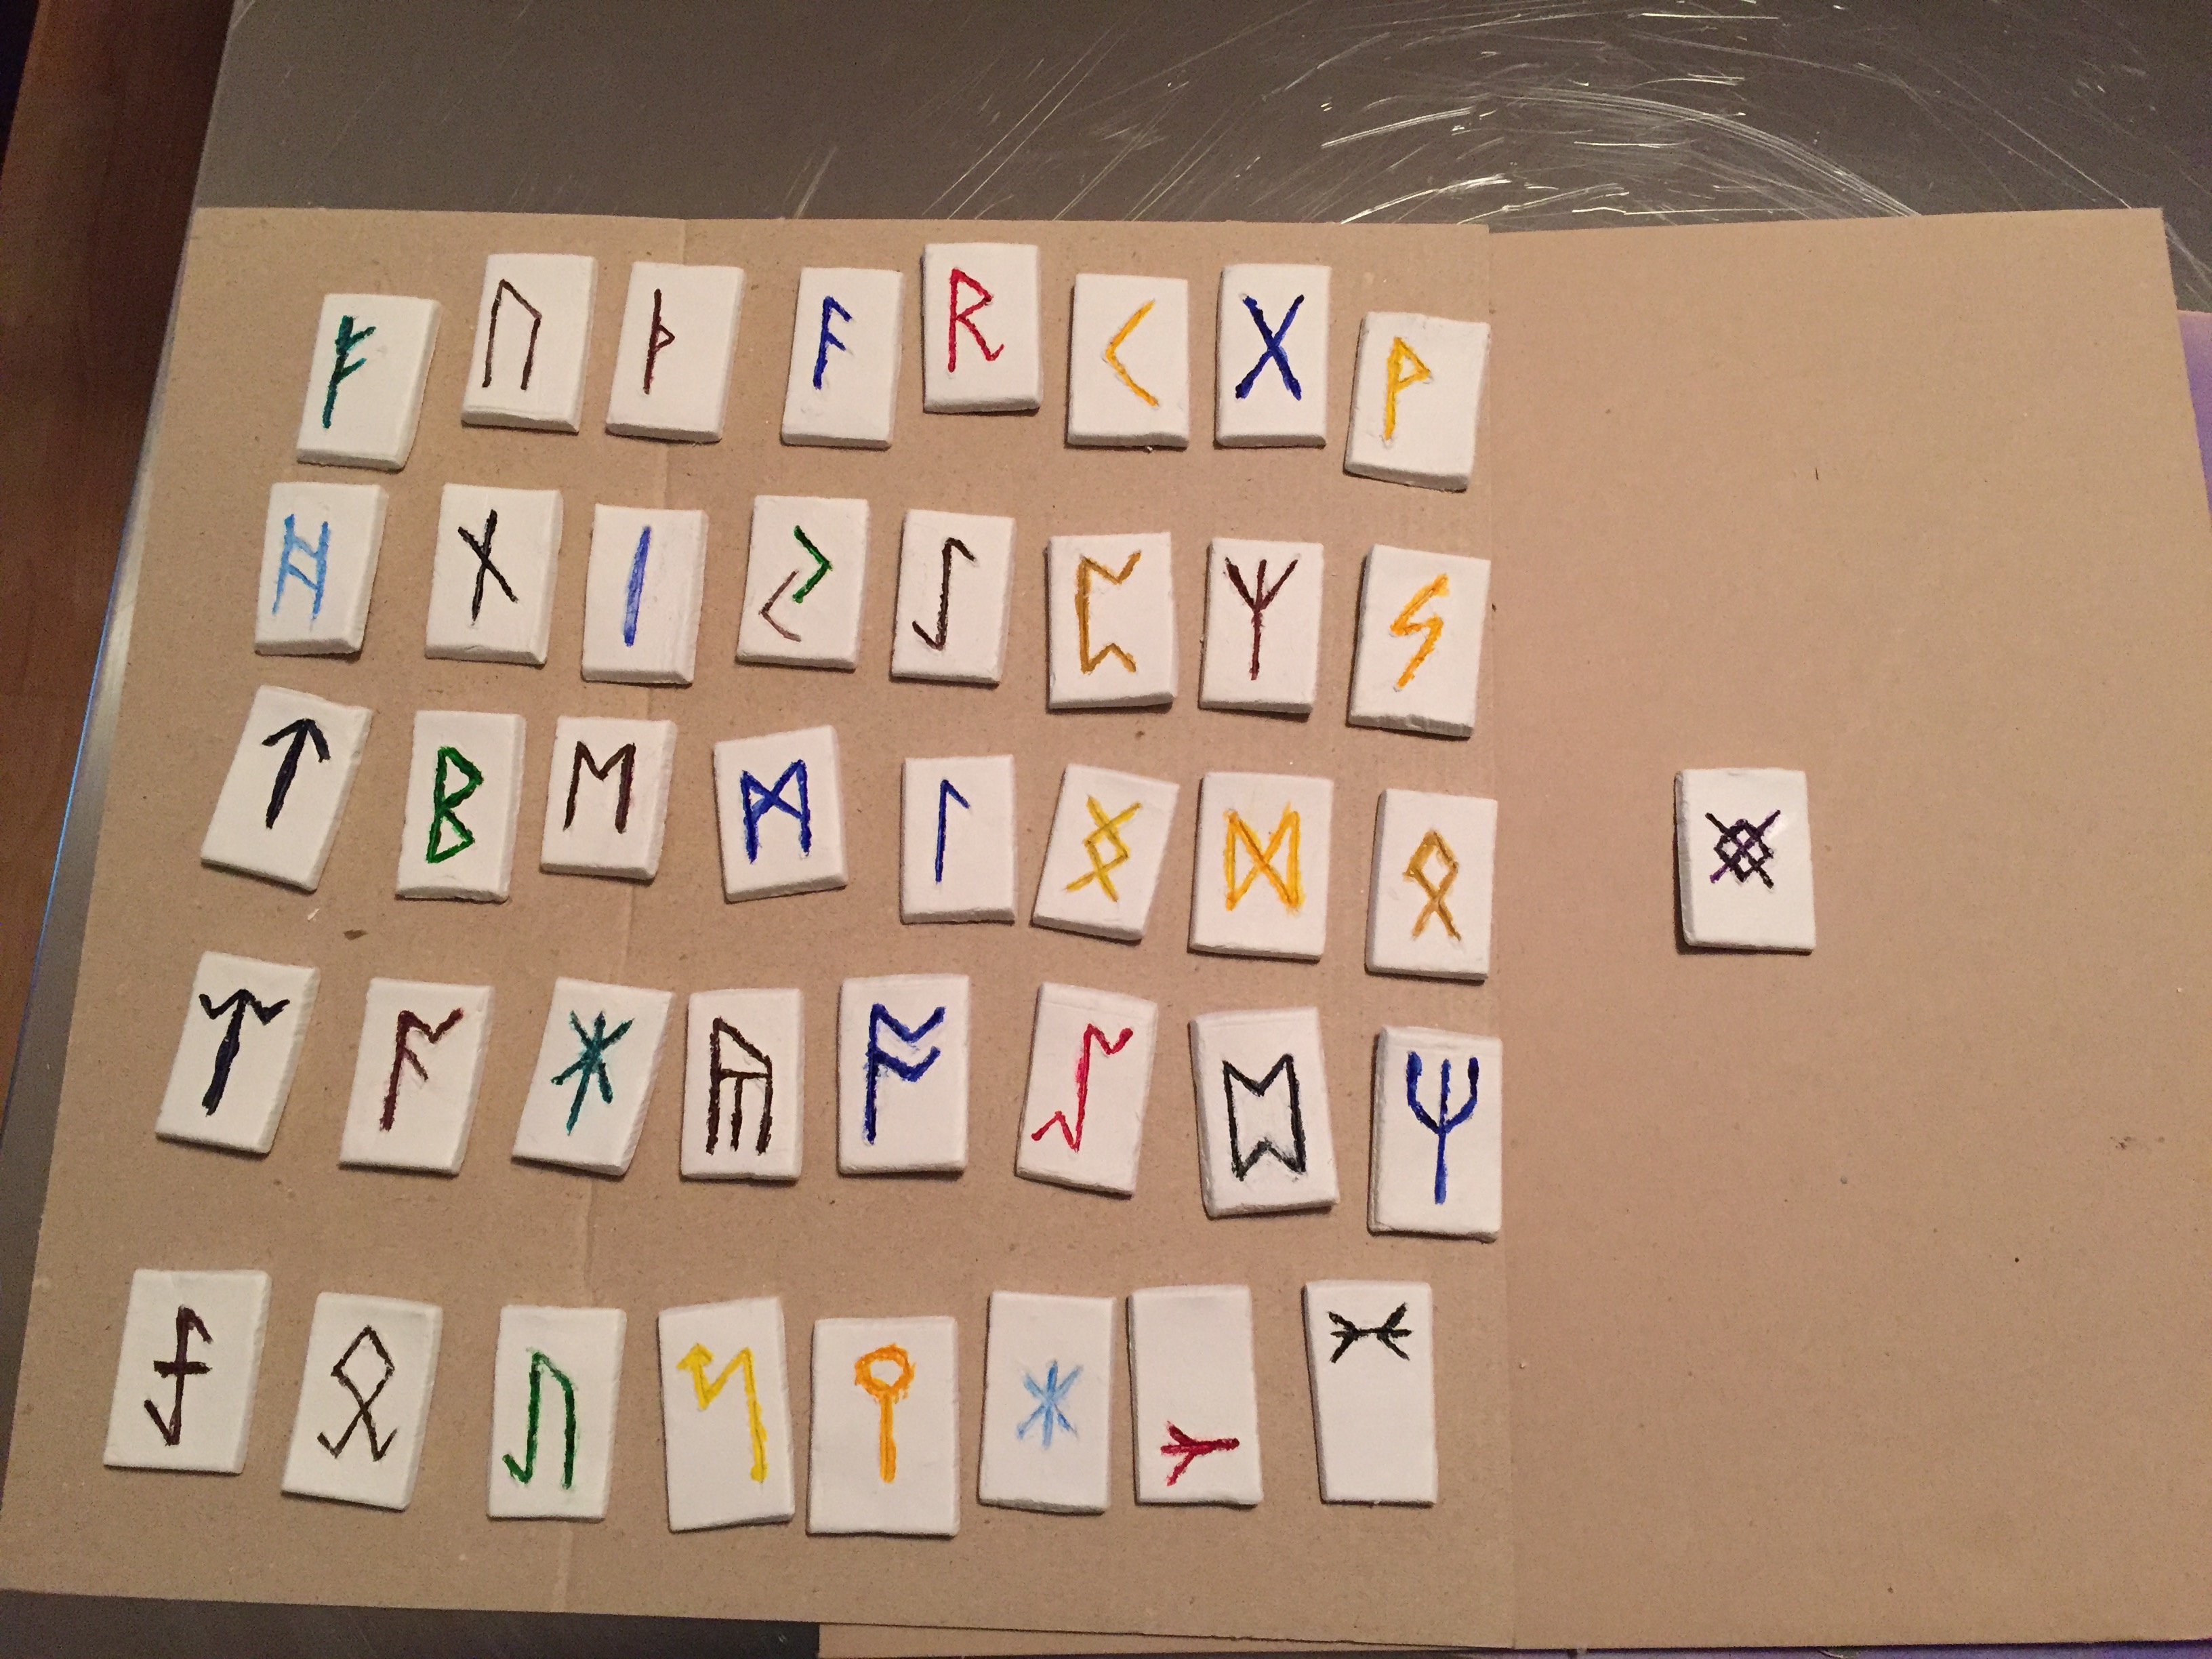
Runes – Wet Paint
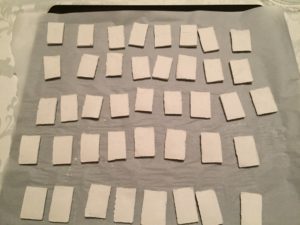
The unfinished clay is smooth enough to handle. However, since these are going to be handled a lot, I’ve chosen to seal them to protect the paint and help keep them from accumulating dirt, finger smudges, etc.
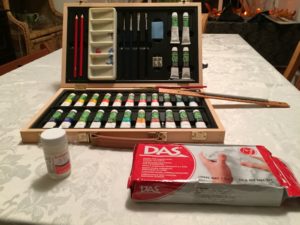
I used Sculpey Satin Glaze as the sealant. The jar promises that it needs only 30 minutes between coats, which was true. Doing the first round took just about a half hour, and by the time I finished the last rune, the first one was ready for another coat of sealant.
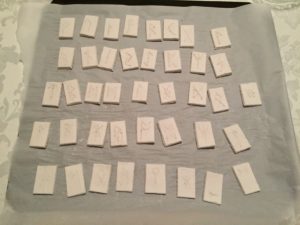
I did the four edges and the top of each tile. Edges first, and then the top, so the extra bits from the sides could blend into the top finish. I used a regular medium width artist’s brush to apply the glaze. A light touch is necessary, and even then, the glaze will try to pool in the cut designs, especially where lines cross. I used a smaller, stiff brush to go over the painted design to pick up the excess glaze. The glaze is clear, so it did not dramatically change the colors of the paint.
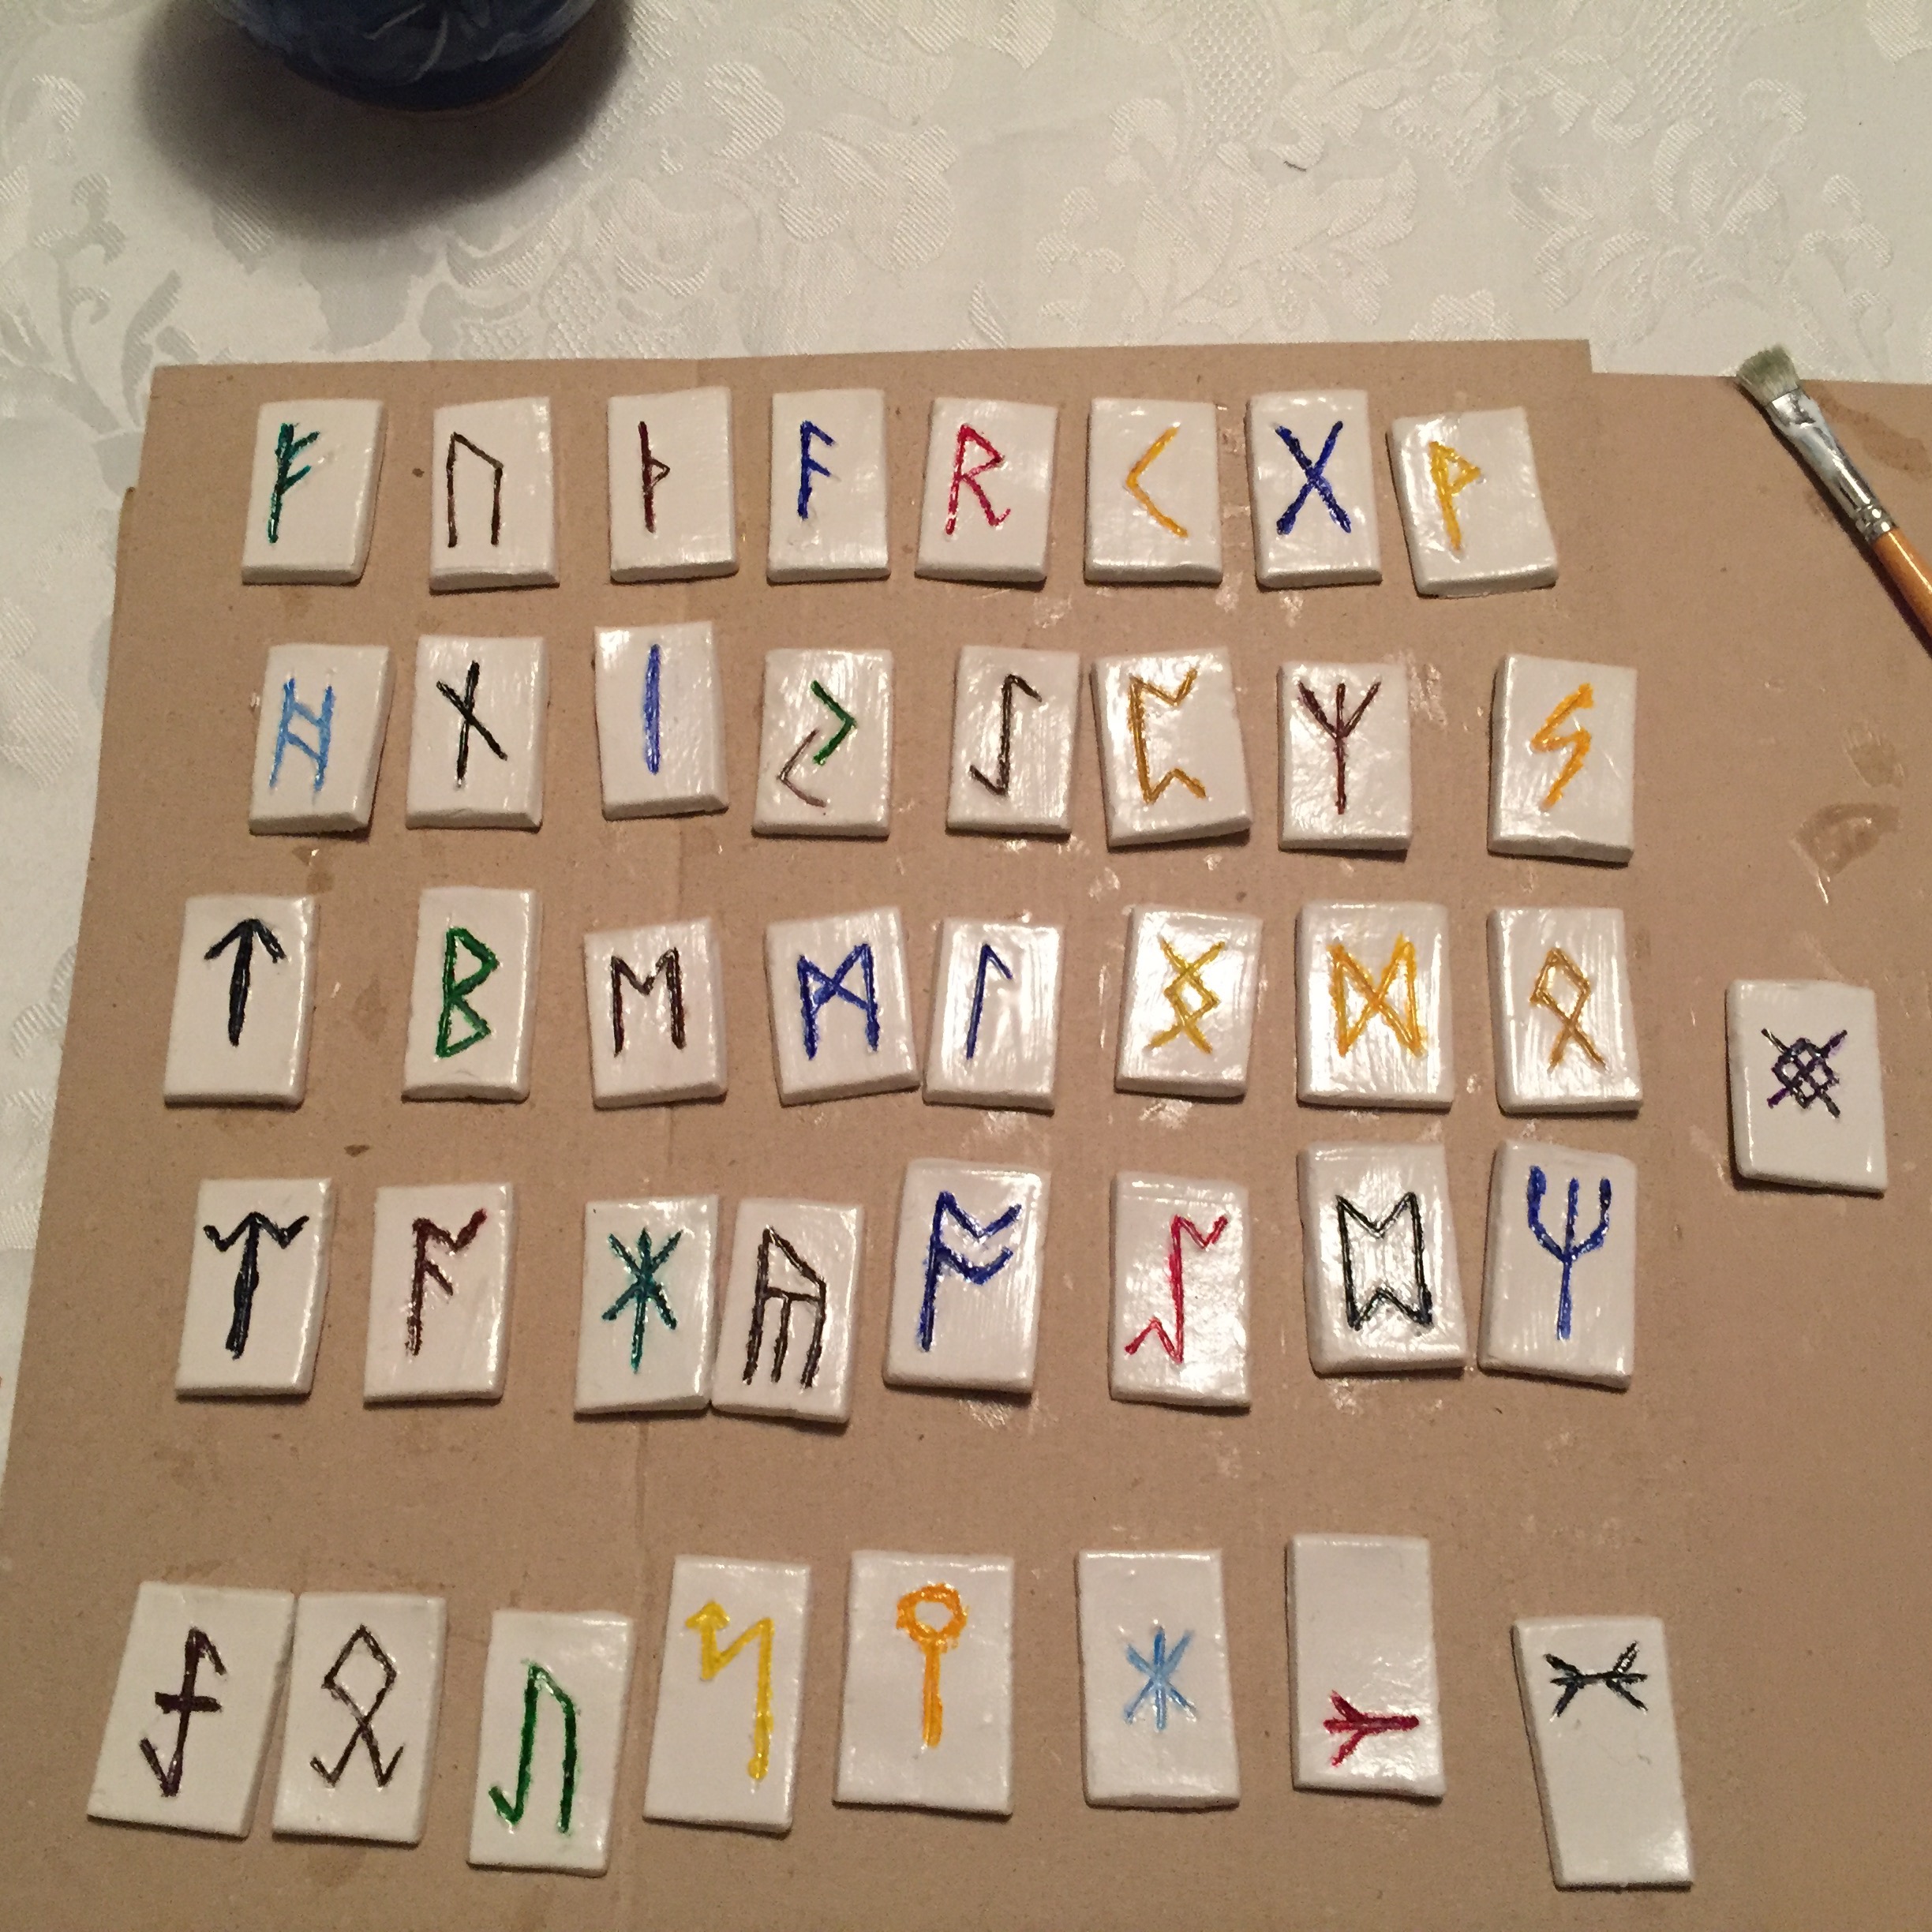
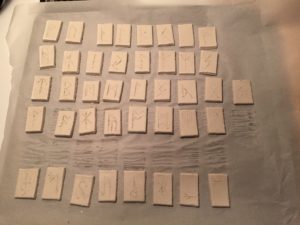
Glazed Runes – Still Wet
The finish is satin, in that it’s a bit shiny, but not particularly glossy. The glaze is still wet in the above photo, but the shine is less noticeable once the glaze dries.
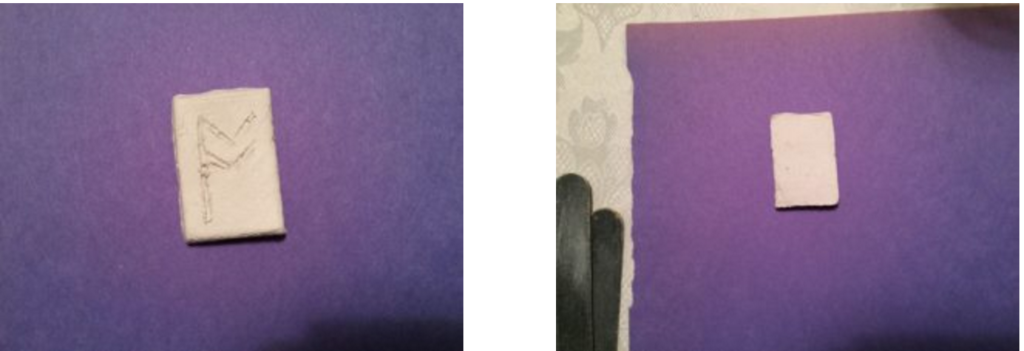
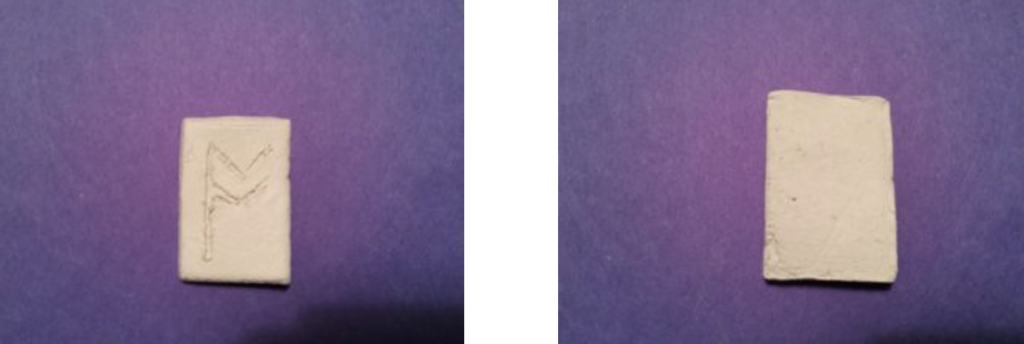
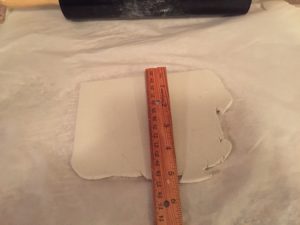
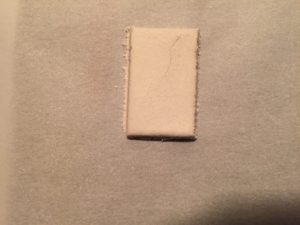
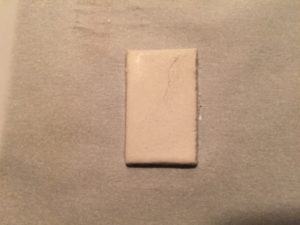
The tile with Freuydal has two fully dry coats of glaze. The blank tile next to it is the unglazed back of the Wan tile.
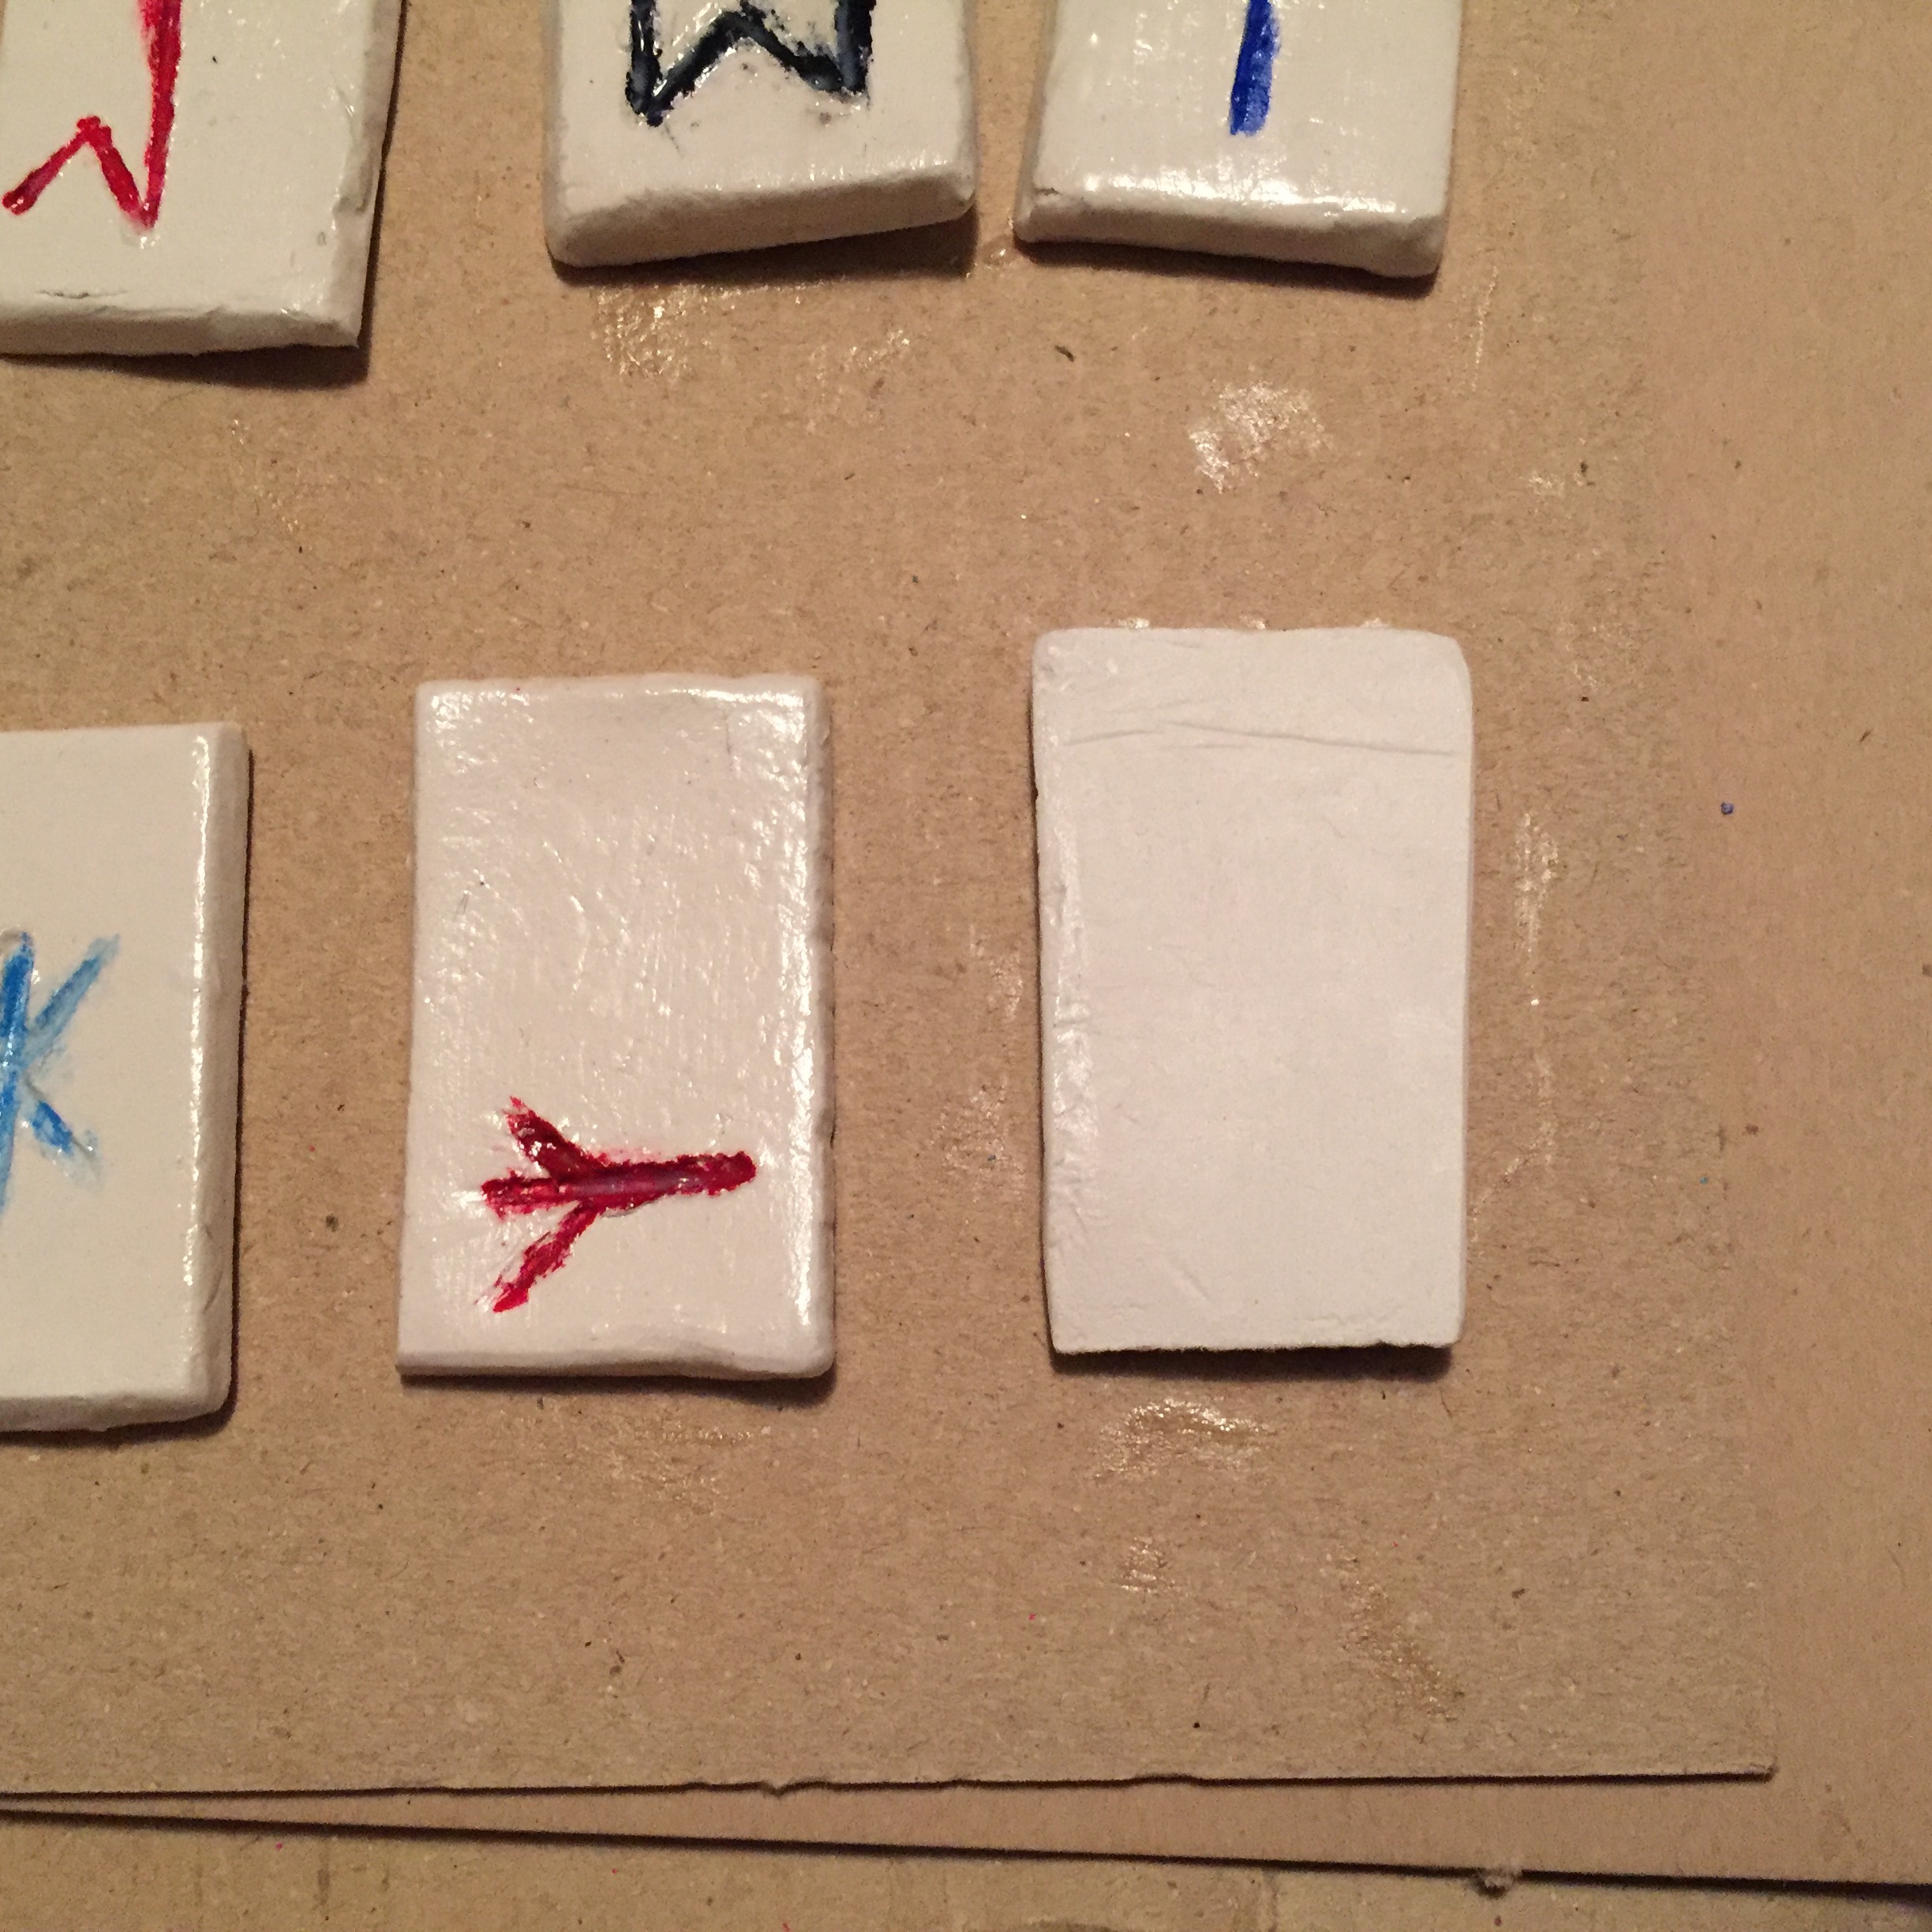
Glazed vs Unglazed Clay
The glaze does give a noticeable sheen to the clay, but it’s not a high gloss. You can, of course, use a semi-gloss or high-gloss glaze, if that is your desired effect. I am going to try a high-gloss glaze on one of the future sets.
Total time to apply two coats of glaze, front and sides: 1 hour. Total working time to date: 5.5 hours.
These are going to sit for 24 hours to fully dry, then the only thing left to do before they can be used is to glaze the backs and let those dry.
If all goes as planned, I can start reading with these on Tuesday night!